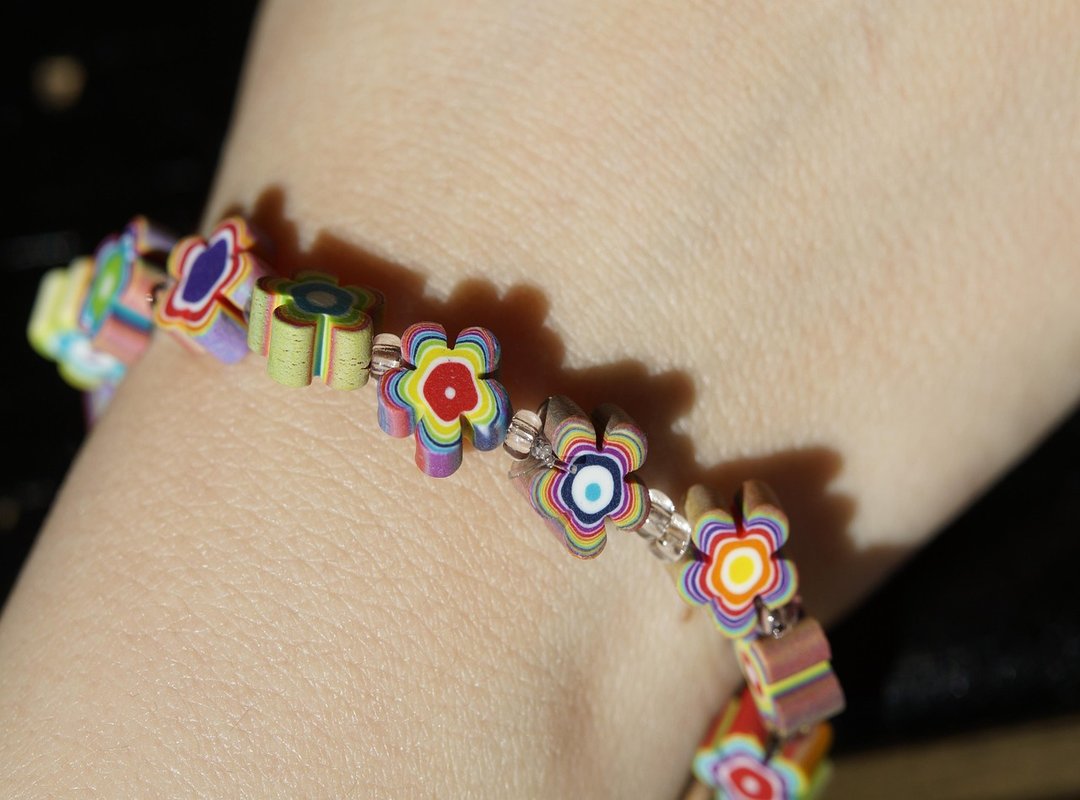
I love working with Fimo clay. It’s so versatile and fun, especially when you’re making animal figures. Even if you’re a beginner, you can create some amazing fimo klei voorbeelden dieren.
Our content is based on extensive research and practical experience. So, you can trust that what you’re reading is reliable and actionable.
This article will guide you through the world of creating detailed and lifelike animal figures. You’ll get clear definitions, step-by-step instructions, and examples to help you master Fimo clay animal creations.
Ready to dive in? Let’s get started.
Understanding Fimo Clay
What is Fimo Clay? It’s a type of polymer clay that’s perfect for crafting detailed sculptures. Fimo clay is known for its durability and vibrant colors, making it a favorite among artists.
Types of Fimo Clay: There are different types, like soft, classic, and effect. Soft Fimo is great for beginners and easy to mold. Classic Fimo is firmer and ideal for intricate details.
Effect Fimo has special properties, like glitter or translucency, adding a unique touch to your projects.
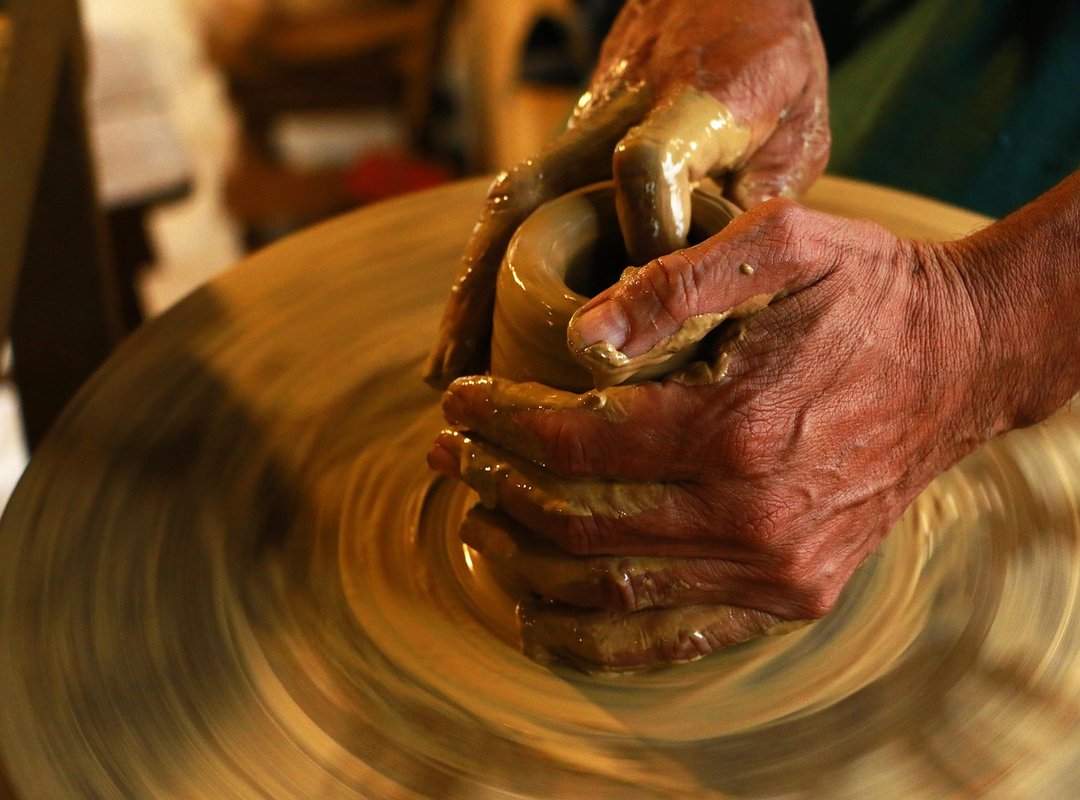
Tools and Materials: You’ll need a few essentials. Sculpting tools help with shaping and detailing. Baking sheets and an oven are crucial for curing the clay.
- Invest in a good set of sculpting tools.
- Use a dedicated baking sheet for your Fimo projects.
- Make sure your oven can maintain a consistent temperature.
If you’re into creating small, detailed sculptures, fimo klei voorbeelden dieren (like animals) is a great way to start. These projects are fun and can really showcase the versatility of Fimo clay.
Basic Techniques for Working with Fimo Clay
Conditioning the clay is your first step. You need to make it pliable and easy to work with. Knead it until it’s soft and smooth.
This can take a few minutes, but it’s worth it.
Shaping and molding come next. Rolling, pinching, and cutting are your go-to techniques. For example, rolling creates smooth, even shapes.
Pinching is great for adding texture. Cutting gives you precise edges.
Adding details is where the fun begins. Eyes, fur, and scales bring your animal figures to life. Use small tools or toothpicks to add these fine details.
It’s all about being patient and taking your time.
Now, let’s compare two common methods: rolling vs. pinching. Rolling is perfect for making uniform shapes like beads or limbs. Pinching, on the other hand, adds more organic, natural textures.
Both are essential, but they serve different purposes.
When it comes to fimo klei voorbeelden dieren, you’ll see both techniques in action. Some artists prefer the clean lines of rolling, while others love the rustic feel of pinching. It’s all about what style you’re going for.
Pro tip: Always keep your tools and hands clean. Dust and dirt can ruin the look of your clay creations.
Step-by-Step Guide to Creating Fimo Clay Animals
Choosing the right animal can be a bit tricky. I usually pick something I’m excited about, but not too complex for my skill level. Gathering reference images or models is a must.
It helps you get the proportions and details right.
- Select an animal that interests you.
- Find clear, detailed images or small models for reference.
Creating the base shape is where it all starts. Begin with the body, then add the head and limbs. Don’t worry if it’s not perfect at first. fimo klei voorbeelden
It takes practice.
- Roll out the clay into the basic body shape.
- Form the head and attach it to the body.
- Add the limbs, making sure they are proportionate.
Adding details is where the fun begins. Eyes, ears, and other defining features bring your creation to life. Sometimes, I find it hard to get the eyes just right.
If you’re struggling, try different sizes and placements until it looks good to you.
- Use small pieces of clay to form the eyes and ears.
- Add any other defining characteristics like fur, scales, or patterns.
- Take your time and don’t rush this part.
Baking and finishing are the final steps. Follow the instructions on the Fimo clay package for baking. Once it’s cooled, you can paint and varnish it.
I’ve had a few mishaps with overbaking, so keep an eye on the temperature and time.
- Preheat your oven to the recommended temperature.
- Bake the clay according to the package instructions.
- Let it cool completely before painting and varnishing.
Fimo klei voorbeelden dieren can give you some great ideas. Look around online for inspiration. Remember, the key is to have fun and enjoy the process.
Examples of Fimo Clay Animal Creations
When you start with Fimo clay, simple projects are the way to go. Think cats, dogs, and birds. These are easy to make and perfect for beginners.
You’ll find step-by-step photos and descriptions that guide you through each step. It’s like following a recipe, but instead of ingredients, you’re using clay.
Moving on to intermediate projects, things get a bit more complex. Elephants, lions, and even dragons come into play. These require more detailed instructions and some extra tips.
Don’t worry if it feels challenging at first. The key is to take your time and follow the steps carefully. You’ll be surprised by what you can create.
For advanced crafters, Fimo clay opens up a world of possibilities. Highly detailed and intricate animal figures showcase the true potential of this medium.
fimo klei voorbeelden dieren can give you a good idea of the range of projects out there. From realistic textures to vibrant colors, these creations are truly impressive.
Remember, practice makes perfect. Start with the basics, then gradually move to more complex projects. Enjoy the process and have fun!
Frequently Asked Questions (FAQs)
Q: Is Fimo clay safe for children?
A: Yes, but adult supervision is recommended, especially during the baking process.
Q: How long does Fimo clay take to bake?
A: Typically, Fimo clay bakes at 110°C (230°F) for 30 minutes per 6 mm (1/4 inch) of thickness. This ensures it hardens properly without burning.
Q: Can I mix different colors of Fimo clay?
A: Yes, mixing colors can create unique and custom shades for your projects. It’s a great way to get creative and make something truly one-of-a-kind.
By the way, if you’re into making fimo klei voorbeelden dieren, this can be a fun and rewarding hobby.
Mastering Fimo Clay Animal Creations
Understanding the basics of Fimo clay is the first step. Next, learning to shape and detail your creations brings them to life. With practice, you can craft anything from simple to fimo klei voorbeelden dieren.
The key is in the details and the patience to refine each piece. Anyone can master this art form with dedication and the right techniques. So, don’t hesitate to start experimenting.
Have fun and let your creativity flow. Share your unique creations with the community for inspiration and feedback.